| manual_la_english Template for statements |
   |
| manual_la_english Template for statements |
|
At the end
of the accounting process you can send statements to your contracting partners.
The layout of such a statement can be modified to a large extend. For example,
you can add your own logo.
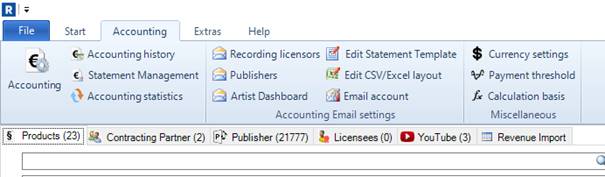
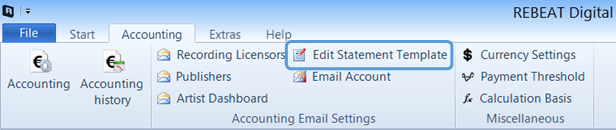 In order
to edit the statement template, click on the menu “Accounting” and then “Edit
Statement Template”.
In order
to edit the statement template, click on the menu “Accounting” and then “Edit
Statement Template”.
Note: There is only one statement template for
all languages.
That means, no matter what language you have set for your contracting
partners, they all get the same template. That is why all parts of the
templates which you cannot edit (such as Customer No or Date) are in English.
Currently you can select two different statement styles: Classic or
Template 1. We recommend “Template 1”, as it has a more modern design. Click on
the drop-down list in the menu bar and make your selection.
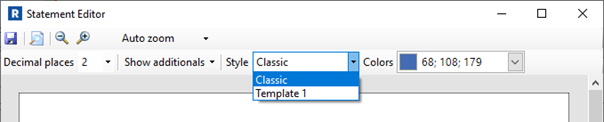
You can also define decimal places, color scheme and
display here.
You can view your statement template in advance by clicking on the
preview symbol![]() .
.
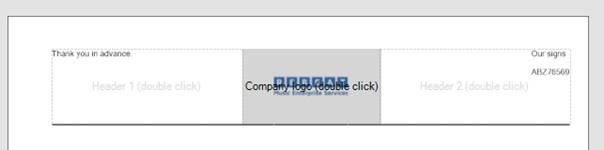
Header and footer
Use your own text in the header and footer. Double-click into the area
where you would like to have the text placed and then enter the text.
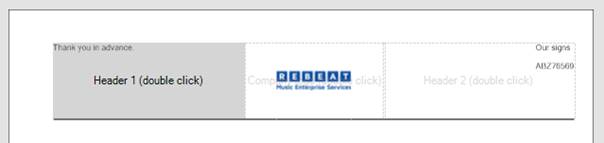
Your own logo
To add your own logo to the statement template just double-click at the
icon in the header.
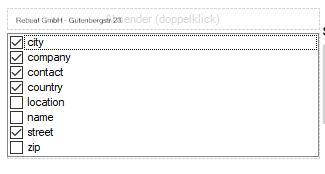
Recipient
Add all required fields for the recipient by double-clicking at the icon
in the recipient area.
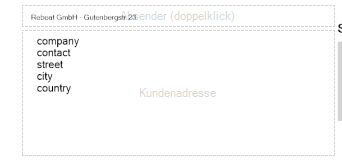
Then select the fields in the same order you would like to have them
placed in the recipient area.
When you have finished editing the statement template click on Save and
close the window.
Related Topics
| |